 |
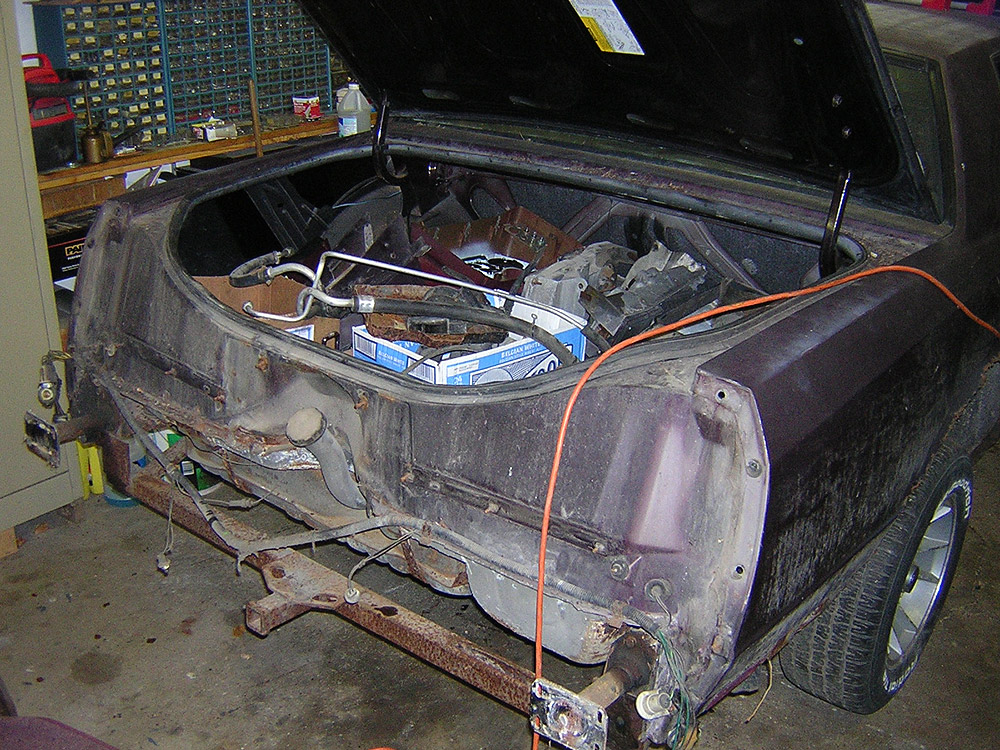
Quite by chance, I stumbled on a parts car. Another original 1987 SS. We purchased it for parts. It arrived home late in the day, and was put in the garage. The brakes are not functional. It hasn't been run in about 6 years. |
 |
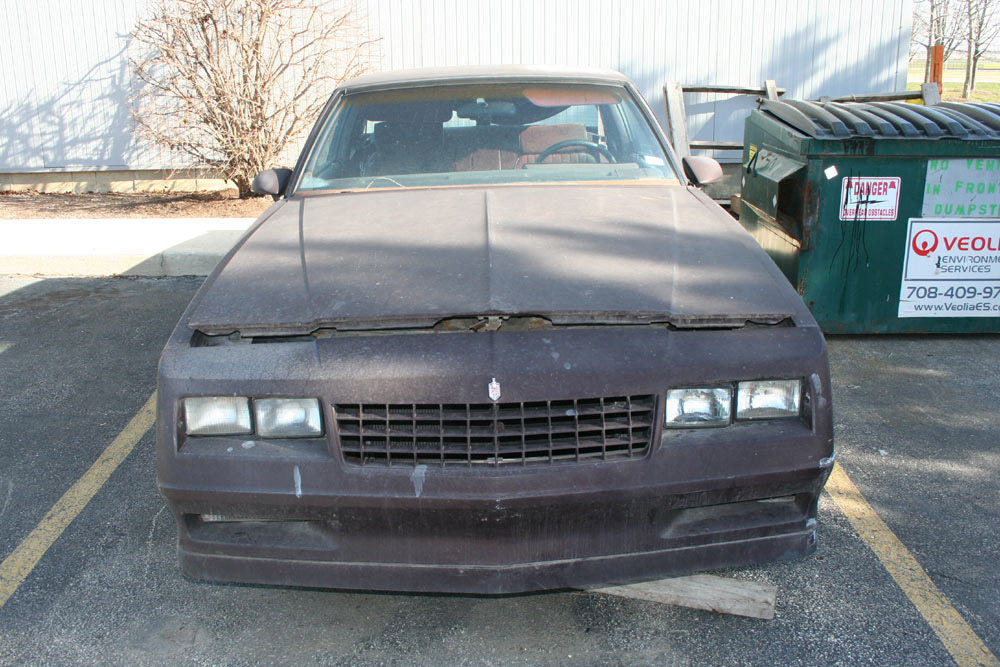
The front and hood are nice, but the right front fender is not. |
 |
Plenty of rust make this a scrap candidate. Good SS original wheels with all the center caps. |
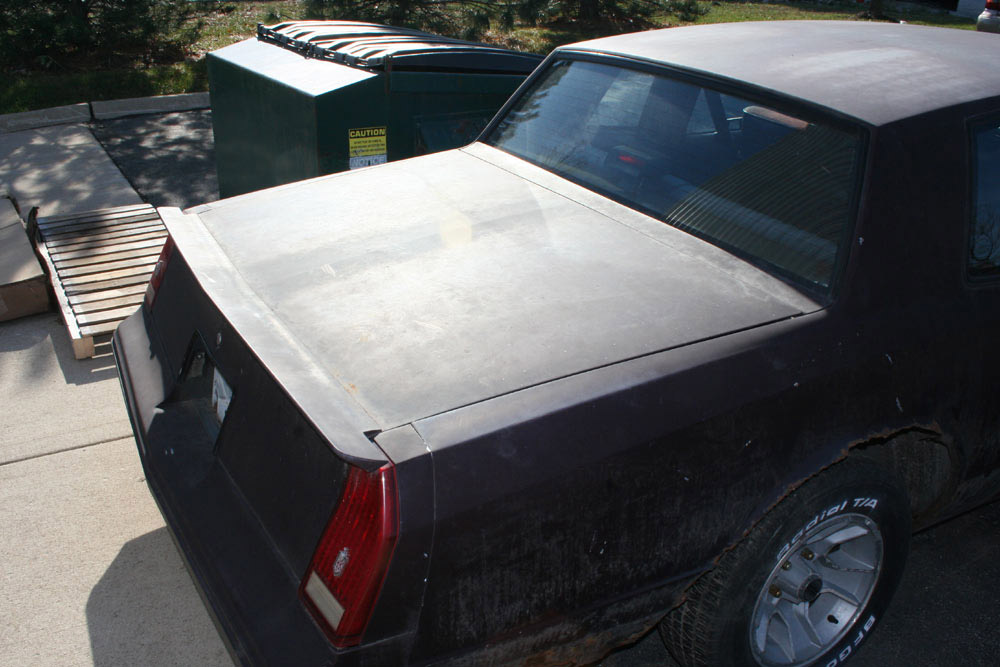 |
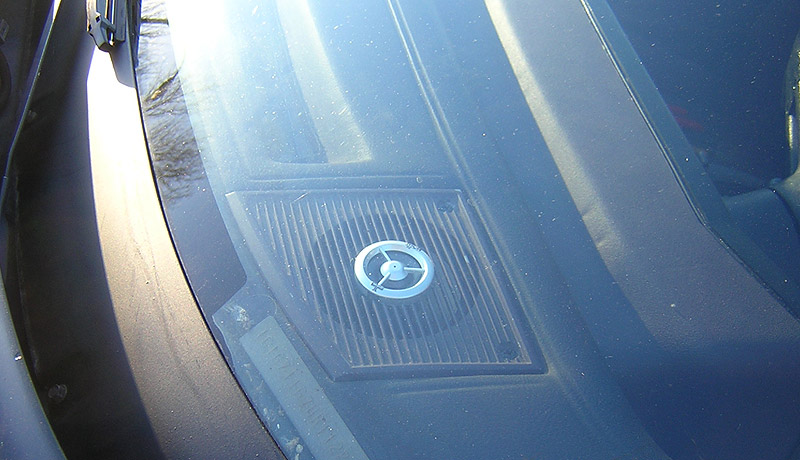
This is what we need most, a deck lit with no dents from hail. |
 |
Another shot showing great tail lights too. |
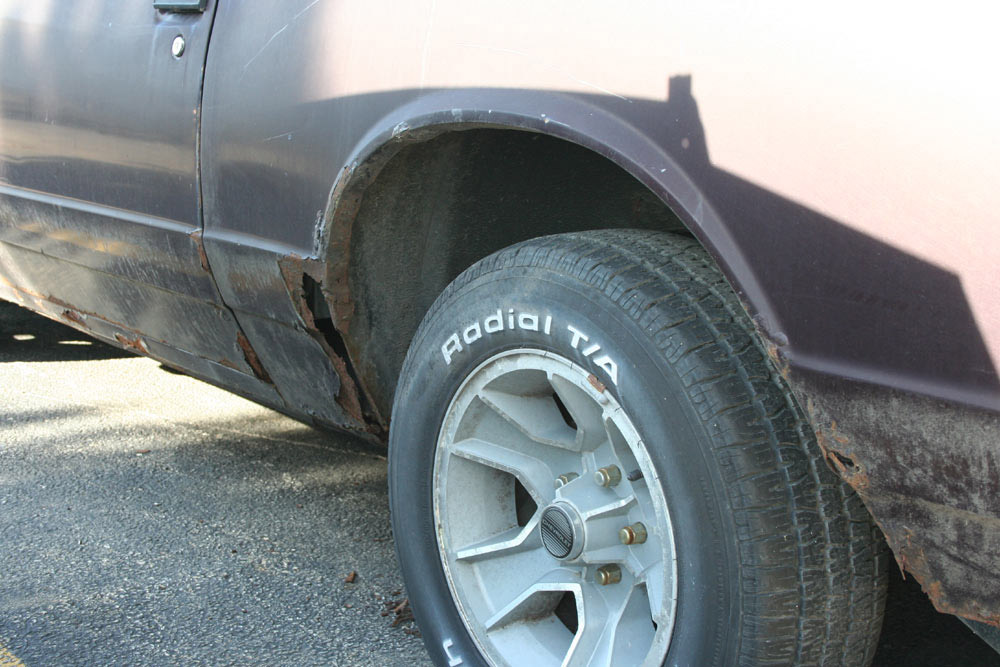 |
Cancer, with another shot at the wheels. |
| The trailer pulls up at the house. | |
| Unloading | |
 |
No brakes means careful attention with canine supervision. |
| Almost in the garage. | |
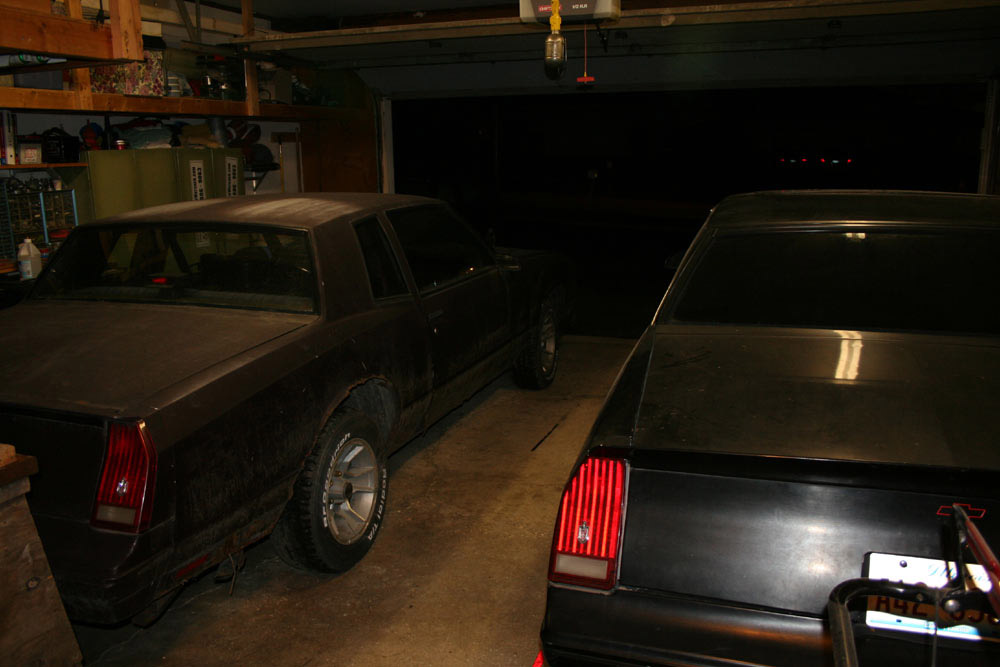 |
Side by side. |
 |
|
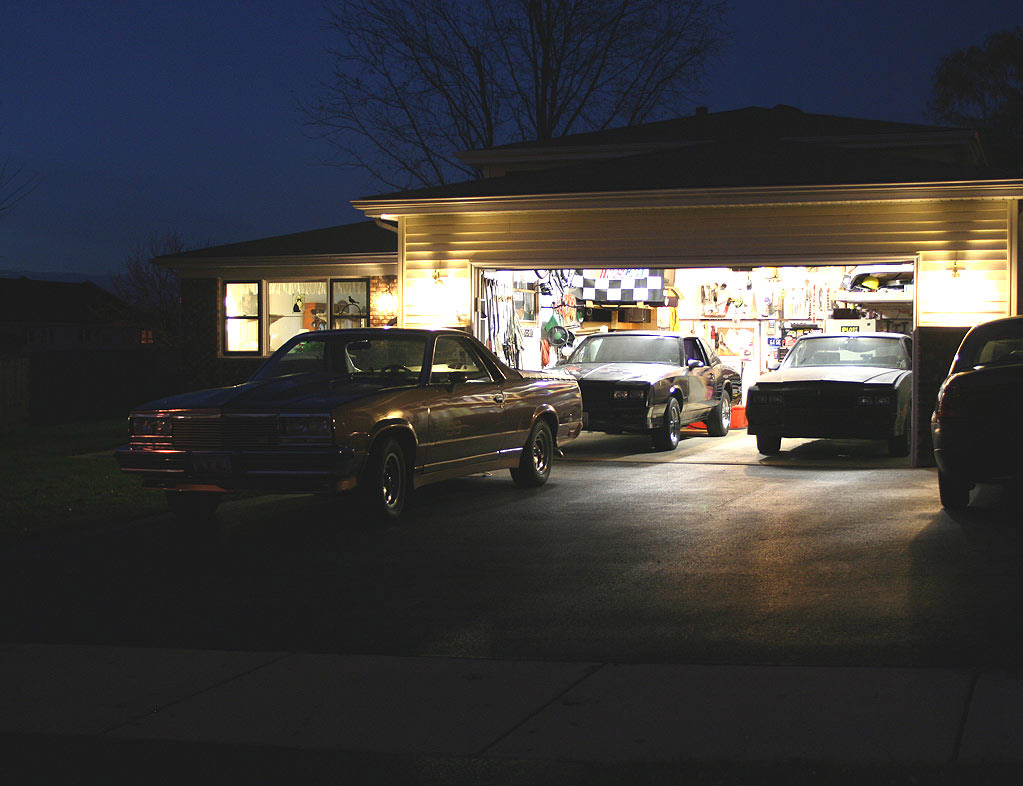 |
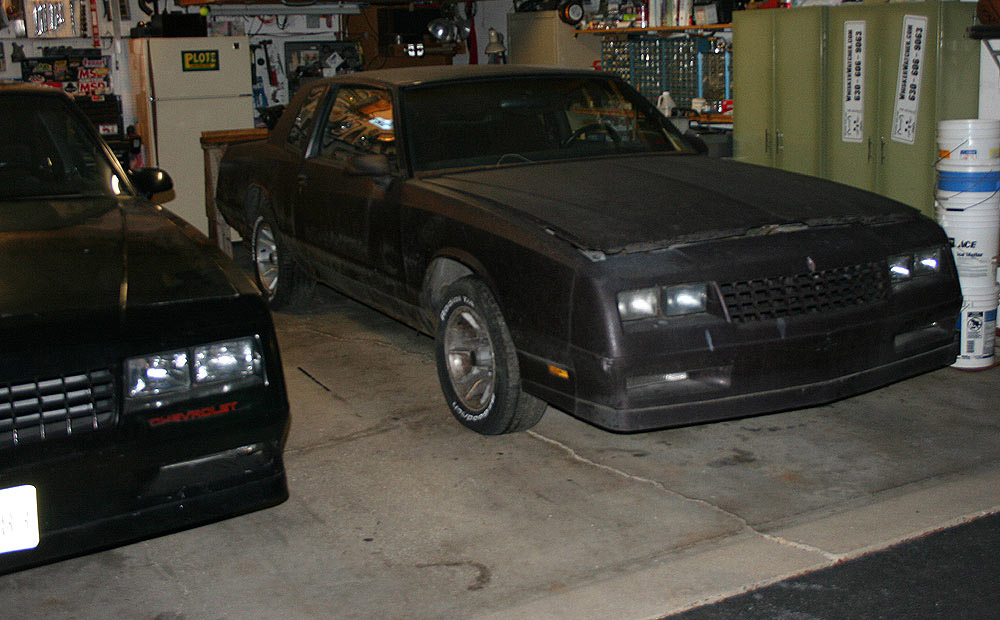
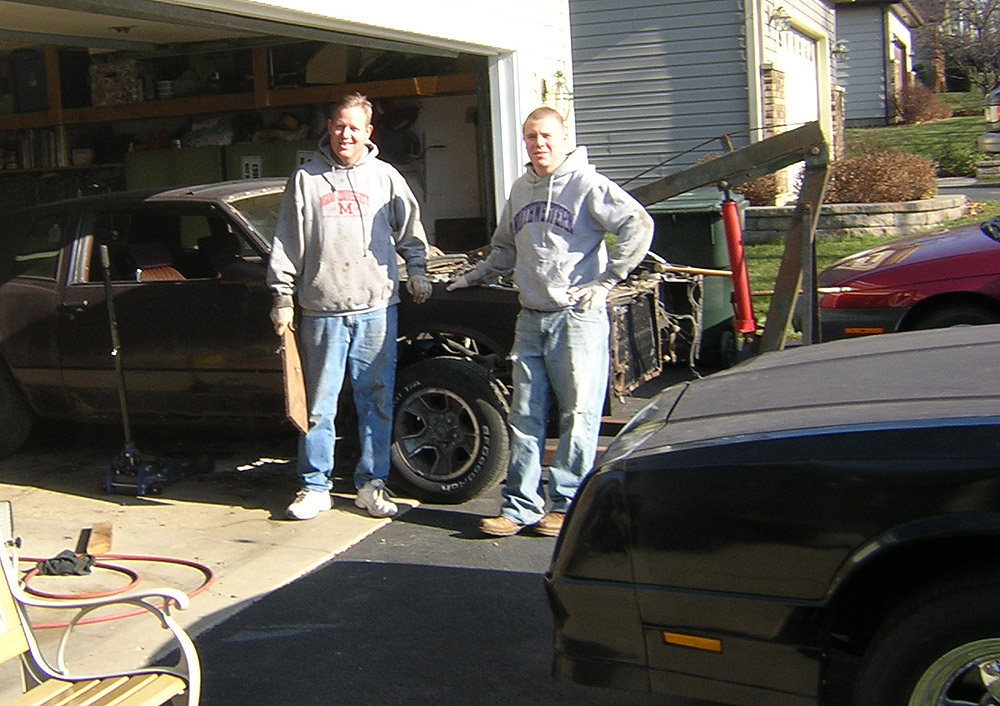
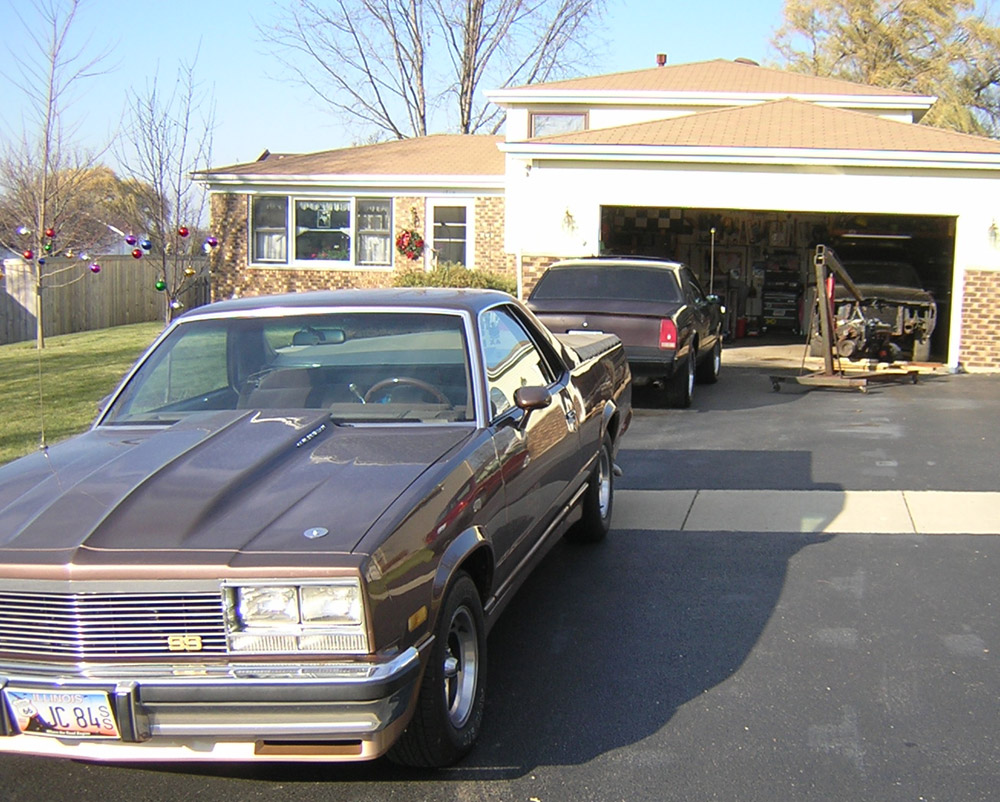
G-Body heaven ..... 3 SS cars in the drive. |
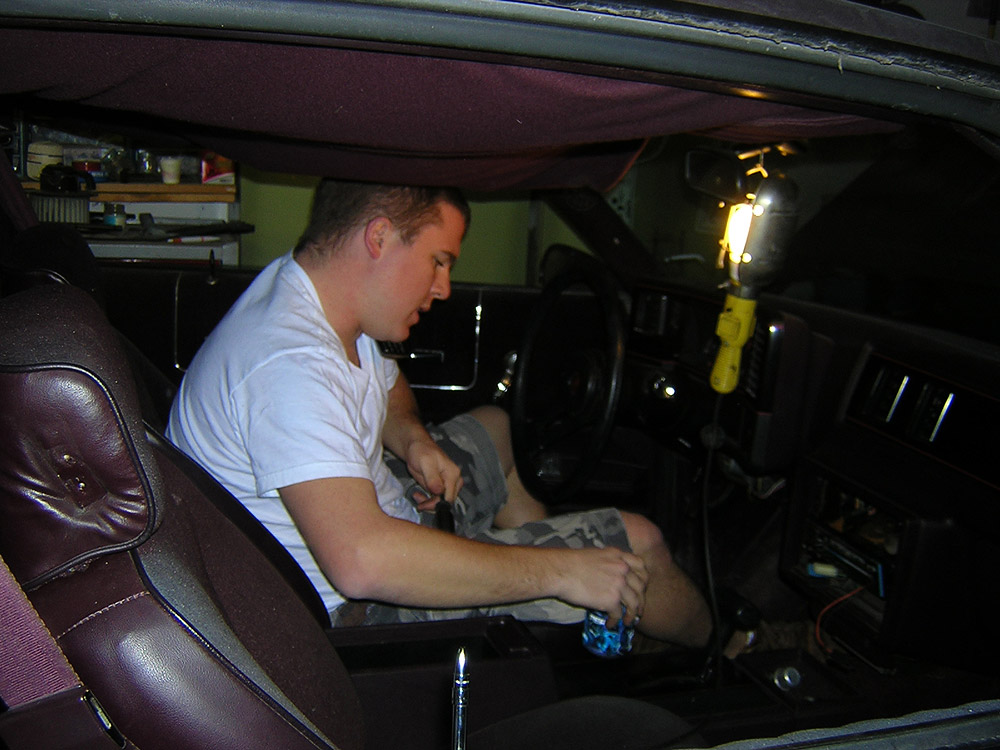 |
Nate working on pulling
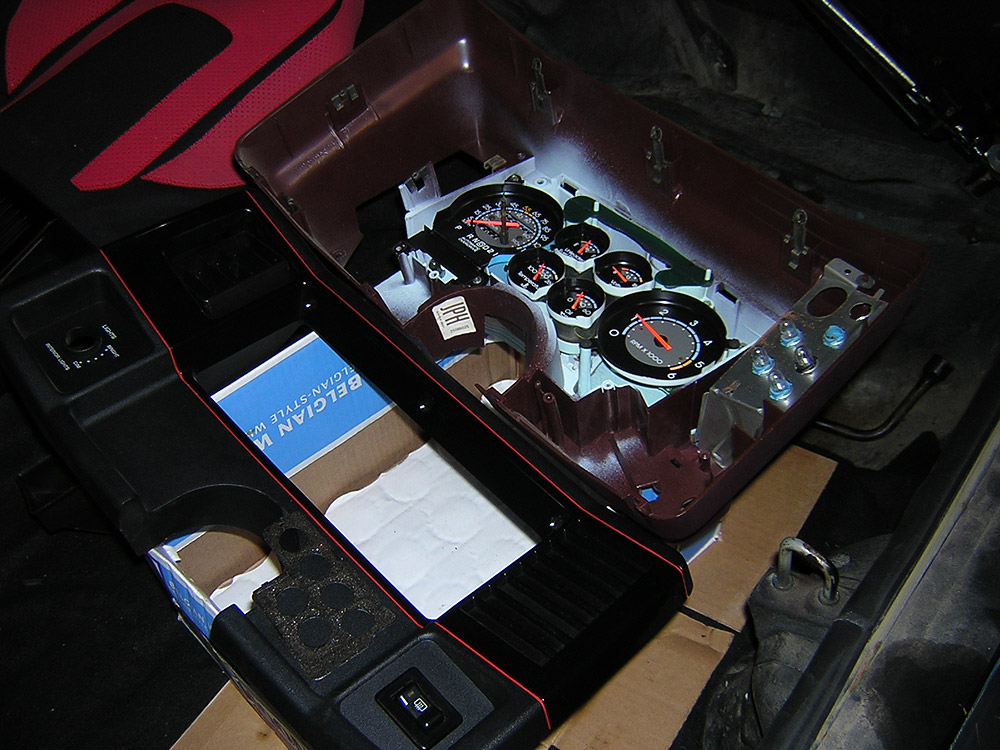
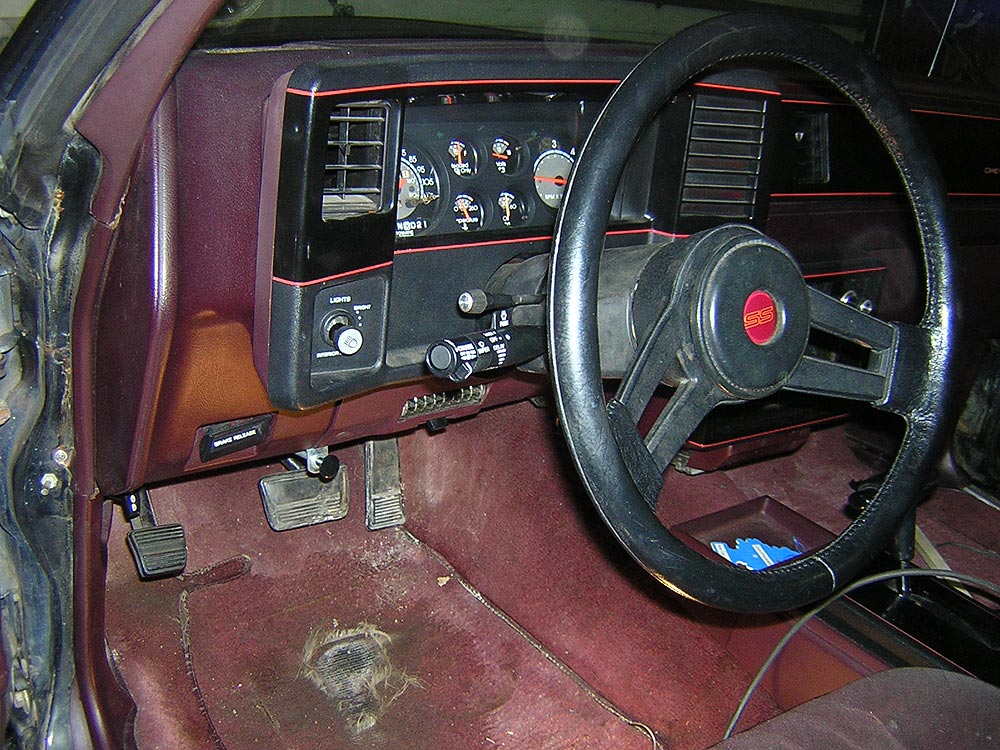
the Dash 11/22/08 He was working on it during the day while I was at work. Got the console lid swapped, Repaired the inside door handle, got the gauges working (fuse), removed the old stereo harness and alarm relays, installed the seat belt guides from #2. We had the heater in the garage going, and it was nice and toasty. The spare and all the hardware was all there, so that's in #1 now. |
 |
I decoded the rear axle numbers on #2, and it shows a 3.73 single leg on the tube. The cover has been taken off, and I may jack up the rear to count the turns and see if the wheels spin in the same direction . The trans looks identical to the one in the other car, so I imagine it's a 2004r. There will be a parts list of For Sale items. There is no rear defrost on his, so the dash cluster cover will be one thing. The correct transmission gear selector plate was in #2 and that was not there on #1 I'll post a list before it is offered to the general population. |
 |
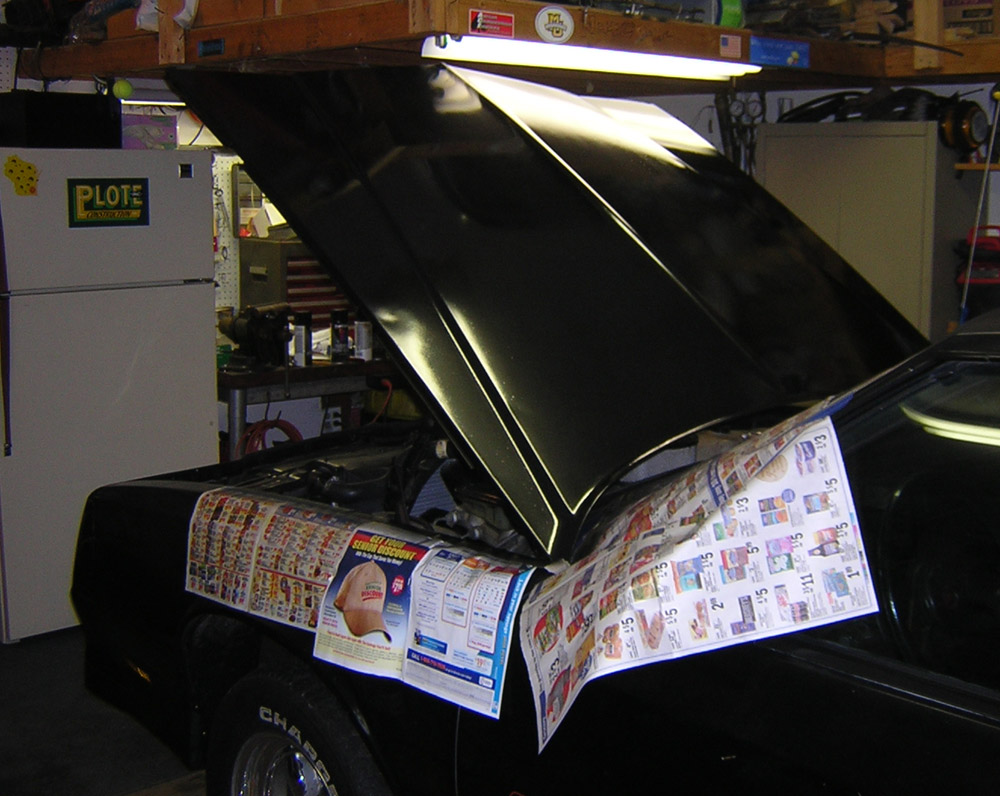
Nate and I got the heater back together. We put the newly painted lower windshield cowl piece back on. Nate swapped the internals to the new gauges and housing to fix the headlight switch mounting tabs that were broken. All the lights are working again inside. Tom came over later and helped me swap the hood, and adjust it. |
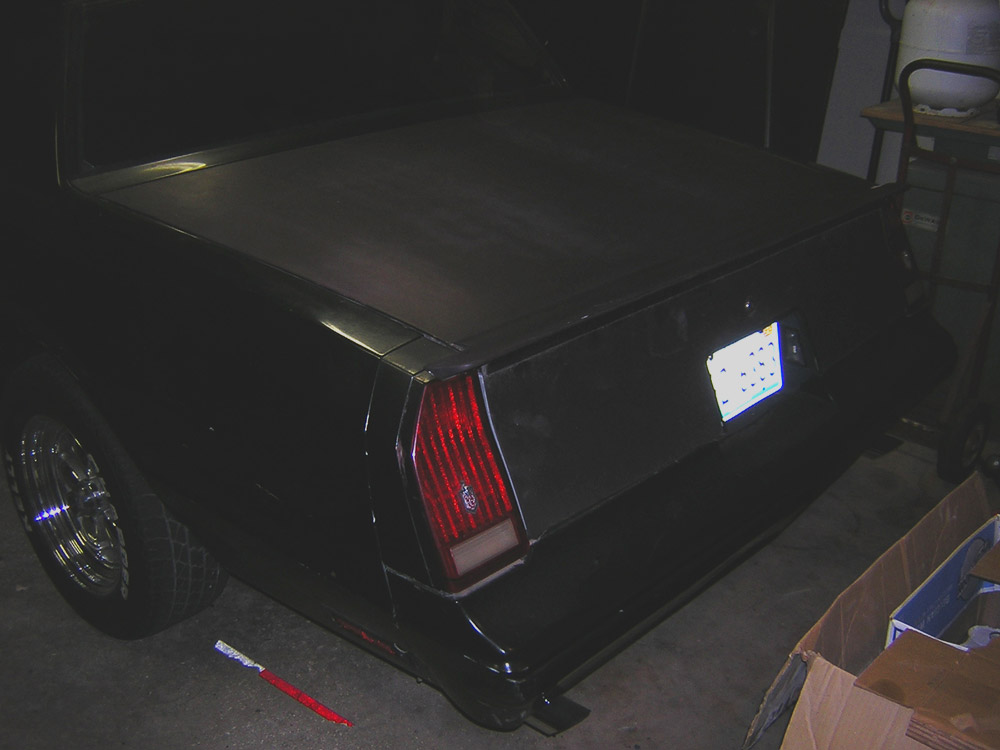 |
Then we worked on the trunk, and swapped out the lock. The fit is pretty good. We have to swap the tail lights, and both front and back bumpers too. They are much better on the parts car. #1 is much better in the rust department. |
 |
11/25/08 Nate started right in on the speakers. Tweeter was closing out, and he bought some real nice Polk Audio 4x10's. Also got some Polk 3.5" for the front. Still working on getting them in. Stripping #2 is the priority. |
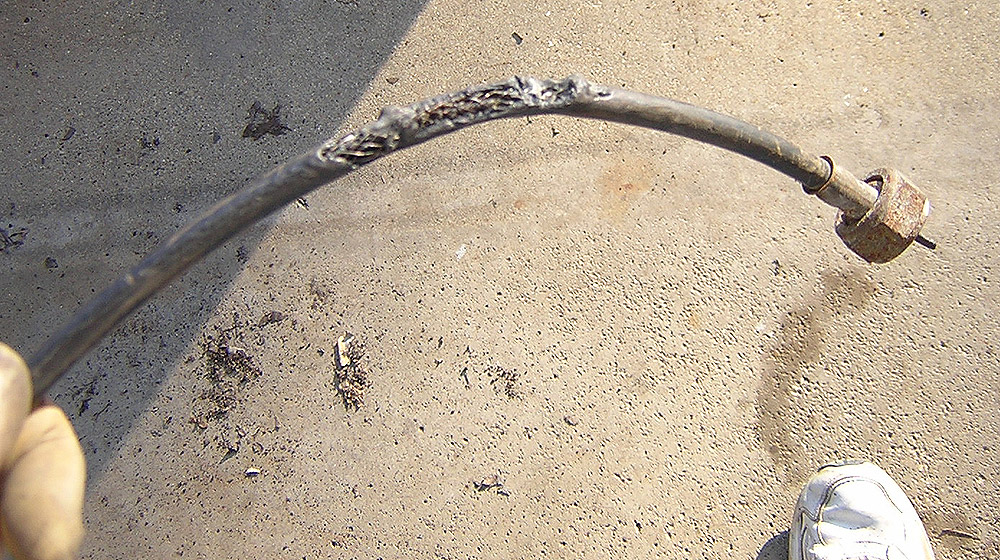 |
We noticed the speedometer didn't work last night. This is why. The cable was against the exhaust. There happened to be another cable on the other side of the garage <G> It kinks a bit though, and the speedometer is all over the place. Might have to spring for a new one. |
 |
Here's Nate getting the spoiler off the old trunk. (will sell with other parts) |
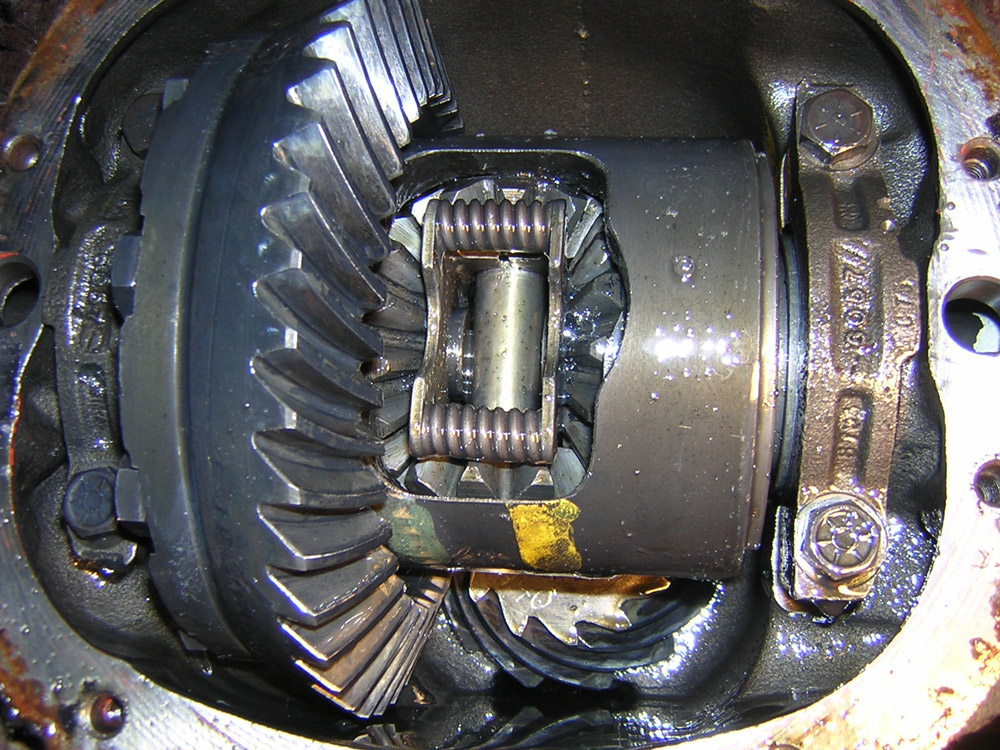 |
There is a Posi in the rear! We counted the turns and I believe it's a 3.08, just like the PO said. I am thinking of transplanting this unit in to the El Camino. I have 3.23 gears in there. So you suppose the unit would work with them? |
 |
The back of #2 with a trunk full of good pars. Outside is the rear bumper, and front bumper. |
 |
A little fine tuning on #1's timing, and a sleeve on the TV cable to
get a tighter adjustment
turned out to be perfect. On the test drive, the Monte had all 4 forward
gears.
The shifts were smooth, and it kicked down nicely. We have corrected that
problem. Looks like the El Camino might get an overdrive transmission after
all! |
 |
Happy Thanksgiving. Last year, Nate and I were taking burnout pictures <G> This year we are pulling out the motor on the parts car. We resealed the sunroof on the Monte#1 too. Now we can put the headliner in. |
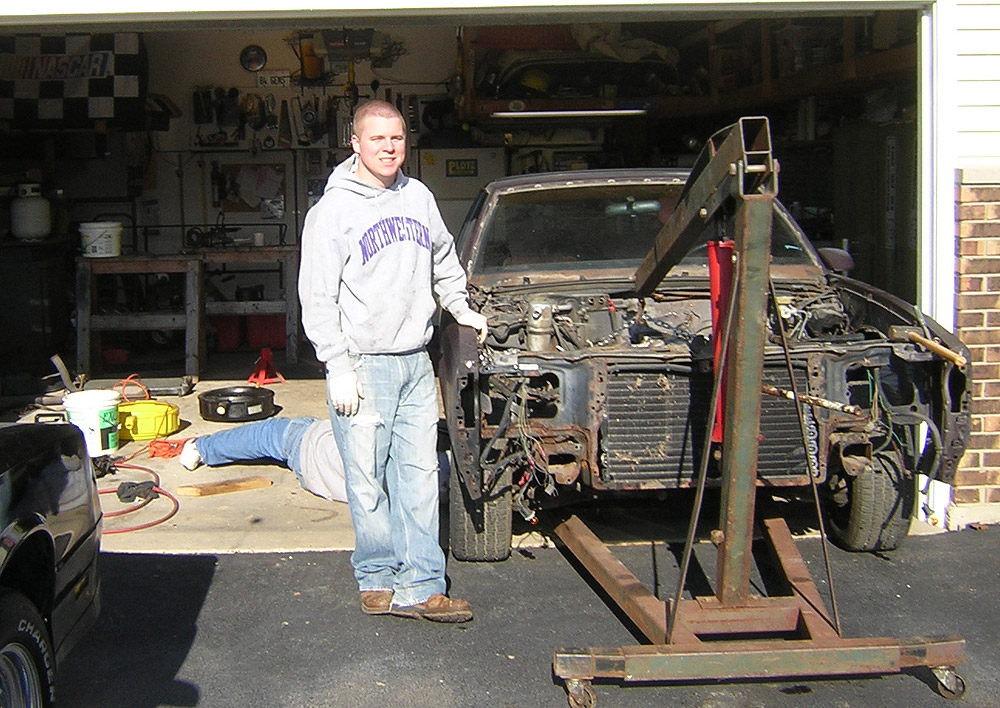 |
We pulled a lot of parts off the donor car. It was a beautiful day. |
 |
Here are the 3 G-Machines. One with the motor finally out. |
 |
We didn't do much with this but put it back in the garage. Then continued stripping the #2 Monte, as well as working on the interior of #1. |
 |
11/28/08 I was working, but nate worked for about 4 hours plundering the #2 Monte.
Here is evidence of the parts we
will be selling (for the most part) to pay for the parts car. |
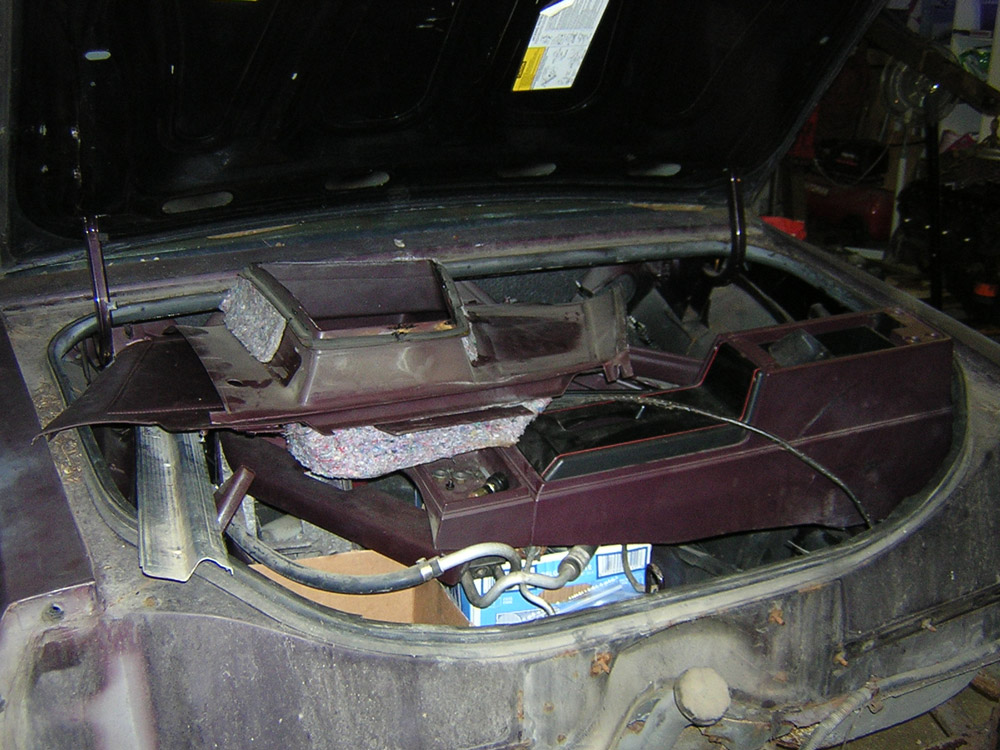 |
Trunk is full of parts with the bolts and screws bagged along with them. |
 |
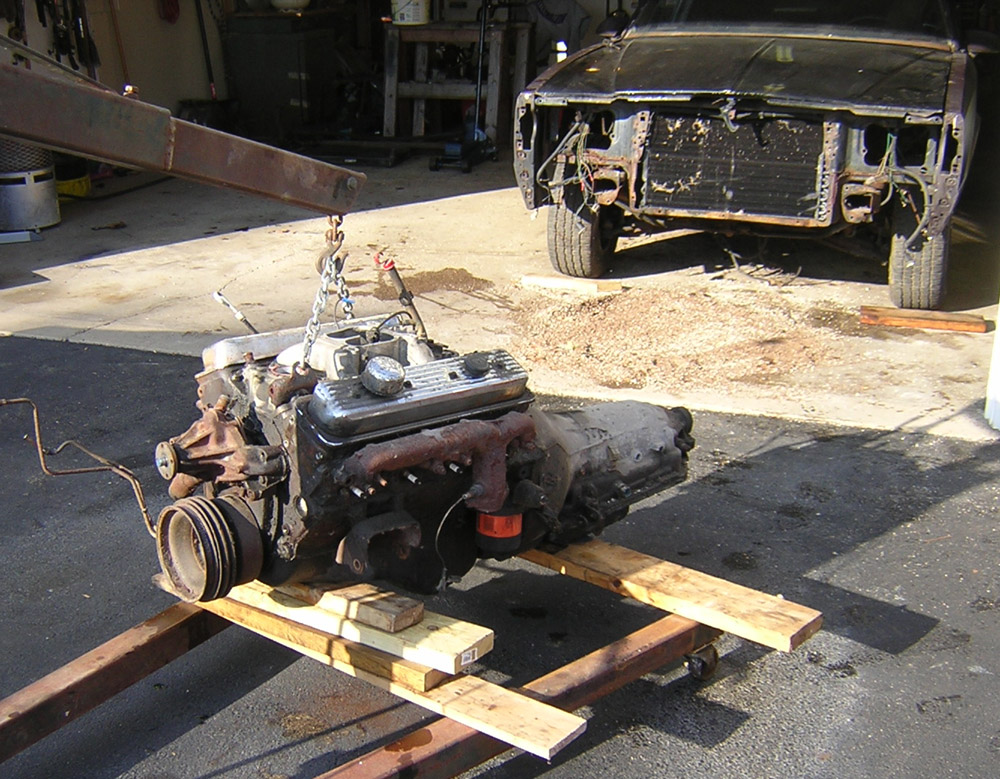
We separated the engine and trans. The heads are 305 head casting numbers, so I believe this is the high output 305 it was born with. We will be selling the Edelbrock performer intake. The 2004r will be in the El Camino after I find a builder that can make it handle the HP. |
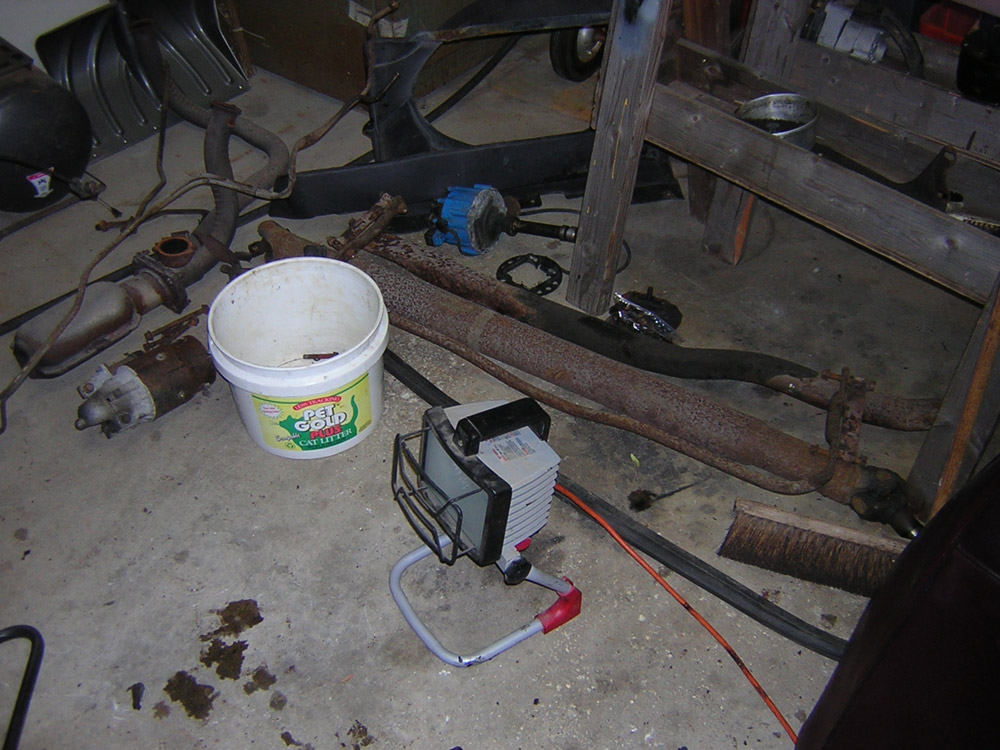 |
More parts. I'll keep the drive shaft and cross member to convert the Elky to Overdrive. Misc. stuff will be sold. |
 |
We did get the headliner for #1 reconditioned and ready to get back in the car. Plans for 11/30/08 are to get every last part off of #2 except the rear end and wheels (so we can move it around) then put the headliner in #1, and get the trim back on. Test and tune #1 to get it road ready. Then Catalog all the parts and store them. I may need to buy a tarp for covering parts outside, so I can get the garage back. Then Nate will head back to school. We hope he'll be driving the Monte back after Xmas break. |
 |
1/4/09 I just scuffed up the paint with a sanding block, and a scotchbrite pad to make the paint stick. |
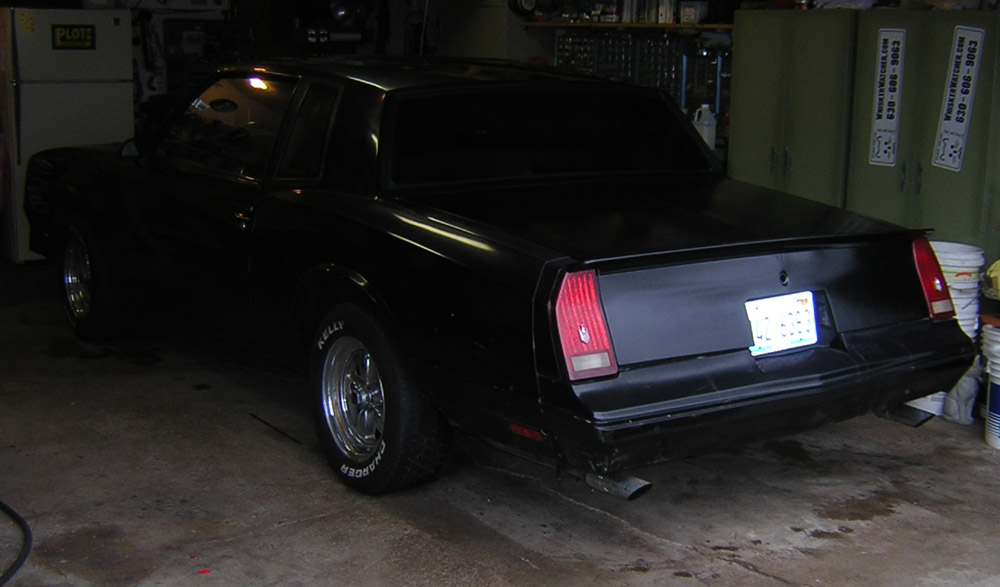 |
About 3 fizz cans later on the hood and trunk, and the Monte isn't Calico any more. |
 |
We'll worry about the paint in the spring, but at least
it's less of an eye-sore from the street. |
| Not much left for parking spaces behind the shop this day. Had to take what I could get. This is what you might consider 'angle parking'. |  |
 |
Tried to do a simple job , but the previous owner came though again. No horn button exists, and I sold the extra steering column. The wire to the turn signal stalk was crimped behind the switches, so the wheel had to come off. Had to build a press tool to get the retainer clip back on. |
 |
Here is the new stalk in place, and working fine. The lower vent cover installed again, and the manual choke knob secured for the first time since we have owned it. |
 |
I bought a spare sticker from a guy that used all in the set except the back one. $5 on eBay to keep up the image till we get paint. |
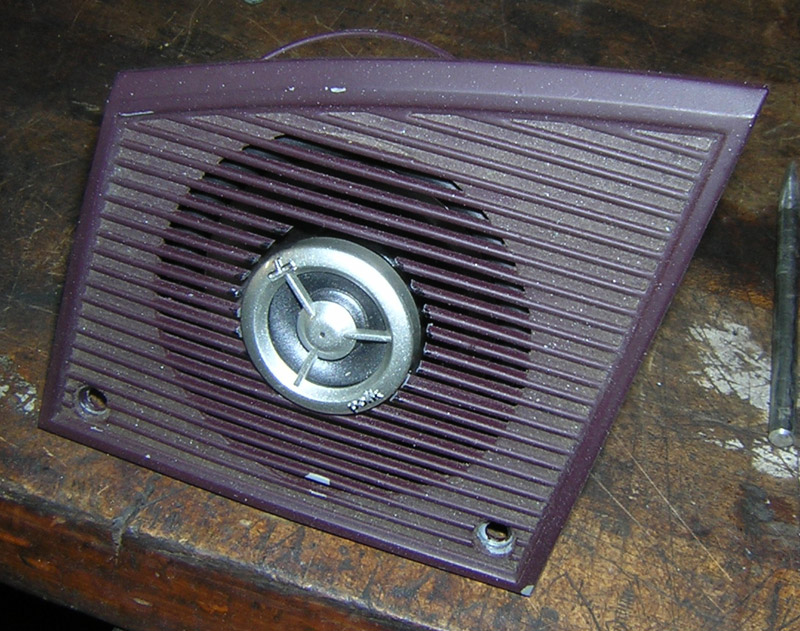 |
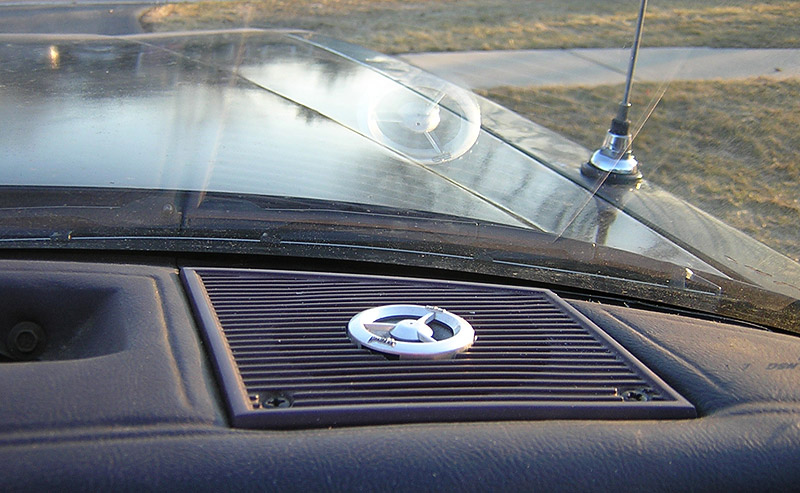
I got the back
speakers in, with screws rather than the stock brackets. They would not
fit. I only
got 3 on each speaker, because I couldn't drill the hole for the inside
corner, because of clearance. On to the front ones. I couldn't get the speakers to slide in, even after adding some clearance to the dash pad. |
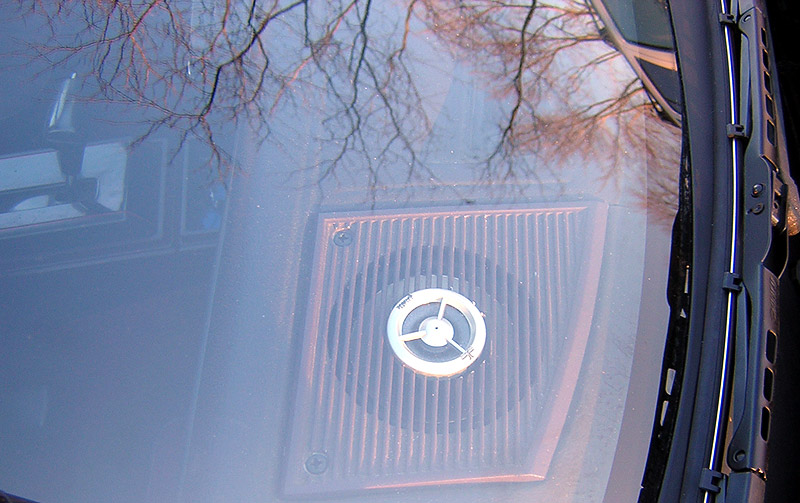 |
 I
decided to get radical, and drew some marks on the grilles
where the tweeter was pushing against it. Then I took a jewelers saw, and
cut out a hole for the tweeter. This allowed me to bolt the speaker flush
to the inside of the grilles, and also to slide them right into place, without
damage to the dash. Now we just need the head unit installed! I
decided to get radical, and drew some marks on the grilles
where the tweeter was pushing against it. Then I took a jewelers saw, and
cut out a hole for the tweeter. This allowed me to bolt the speaker flush
to the inside of the grilles, and also to slide them right into place, without
damage to the dash. Now we just need the head unit installed! |
I checked the timing
with a light for the first time since we have owned it. I moved it from
6 before, to 4 before
TDC. It has been starting a little hard,
and wanting to diesel a bit when hot. We'll see if this helps, but
at least I know what it is set at. The vacuum advance seems to be working
too. While I had the seat out, I opened up the side, and put in the new seat belt retractor lever I got on eBay. Works like a charm now. I swapped out the metering rods in the carb too. I bought replacements a while back, because someone had straightened the old ones with pliers, and made a mess of them. When I rebuilt the carb, I discovered this. Should be leaner under cruise and hard acceleration now. The other ones were worn, and making it a bit rich on one side. Balance is good. The exhaust no longer leaks. I had the good Y pipe from the parts car, and had it installed. The pipes were cut before the join, and new pipes bent and put in. Then behind the Y, rear of where the converter used to be, the pipes were welded to the tail pipes. So we now have true dual exhaust, without the converter. There is about a dime size hole in one of the mufflers, so that will have to be replaced, but it sounds a whole lot less like a dump truck with no muffler now. Listen I made the most of this beautiful day. |